Posing the Cyberpunk Angel
Hi all! Friendly reminder that I will be choosing the two $5.50 winners tonight at 9pm PST. They will be announced tomorrow! Al $5.50+ patrons will be considered to win. Previous winners include the Haunted Horseman and Monster Queen.
Now, onto posing the cyberpunk angel!

T- Pose
I always start with a neutral position with the arms slightly away from the sides. This allows me to work in symmetry which is much faster!

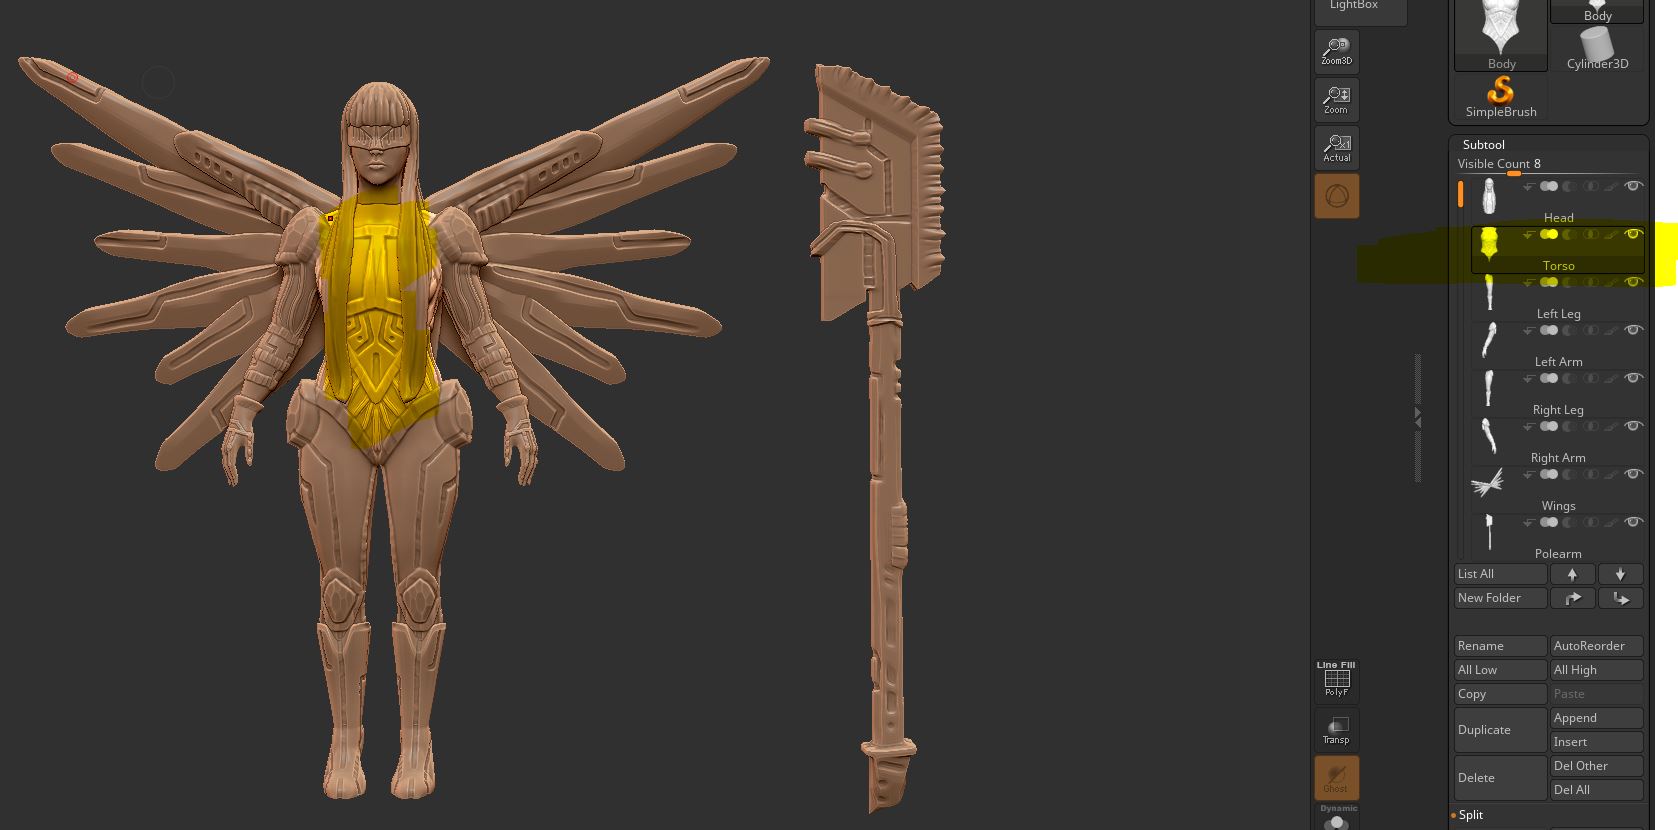
Subtool Palette
I start by organizing all my objects. The subtool palette can be found at the top of ZBrush. It is under the Tool menu.

Reduce Objects
I want fewer objects to work with to simplify posing. So I combine the body, gloves and boots. As well as the head, hair, and mask. I combine these based on what I want to move together. For example, I definitely want the head and hair to move together.

Much simpler!
Now there are only 4 pieces to worry about! I combined these my clicking merge down further down the Subtool Palette.

Split Again
So, funny enough now I split it up again. I want the torso, legs, and arms to be separate.
I do this by masking an area (hold CTRL), and then clicking Split Masked Points further down the Subtool Palette.
All split up!
See now that the torso is its own object. Every arm and leg is separate now too. Now I can pose the model like an action figure.

Move Mode (Click W)
By clicking W that sphere will show up. That’s the 3D Gizmo. By clicking and dragging the different axes around it will move the object. You can re-position the entire Gizmo by holding ALT, then click and drag wherever you want it to be on your model.

All moved~
So for this transformation, I clicked and dragged that red line in the 3D Gizmo down.

Complete!